Showing posts with label Watercolor. Show all posts

Mar 24, 2021

Karin Brushmarker PRO and Reverse Confetti


Today's video features Karin Brushmarkers and the Reverse Confetti Orange Blossoms stamp set.


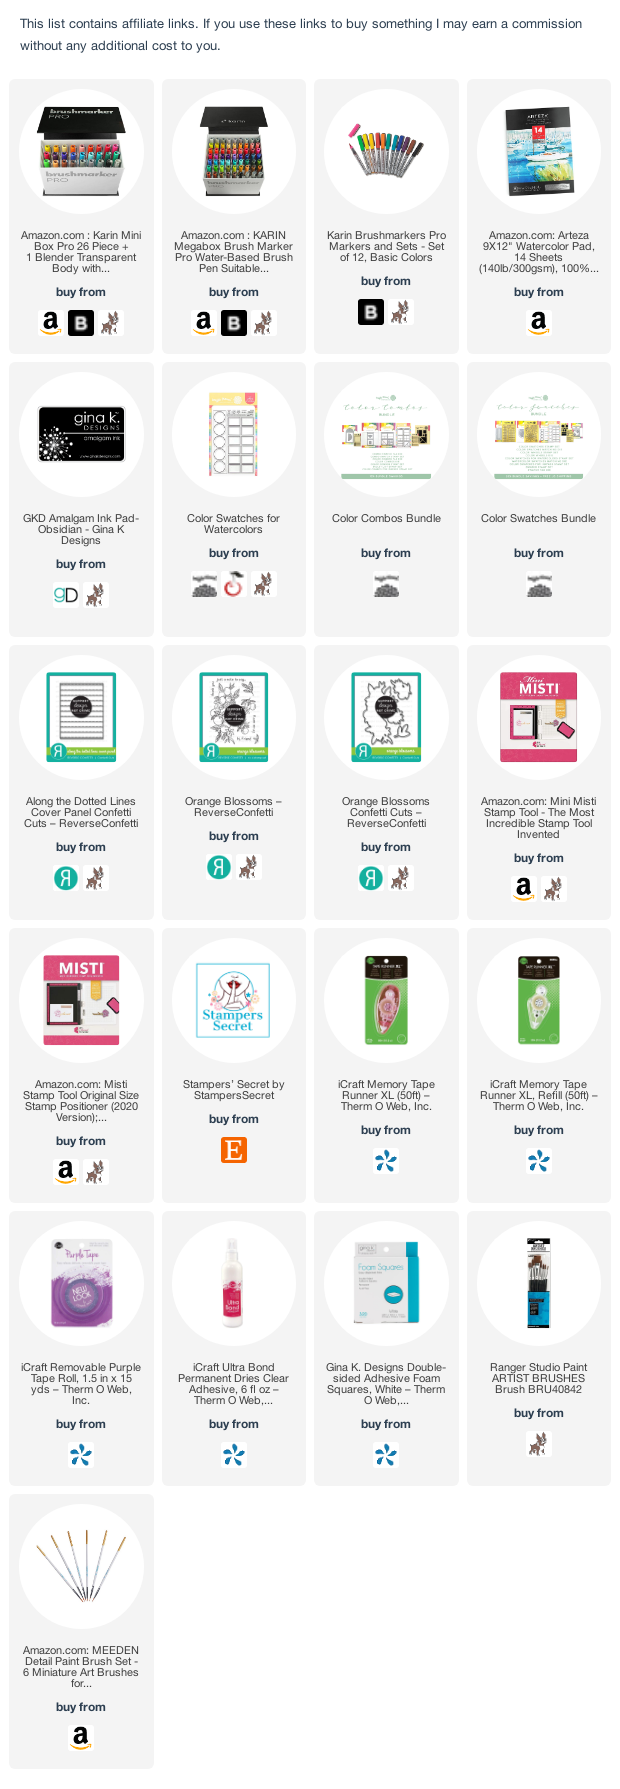
First, I swatched the colors of the Brushmarkers using a Waffle Flower Stamp Set, Color Swatches for Watercolors. Then I used the markers to create a water droplet background and a watercolored image.


If you want to hear what I think of the Karin Brushmarkers and see the watercolor techniques I used to create this card, check out the video:


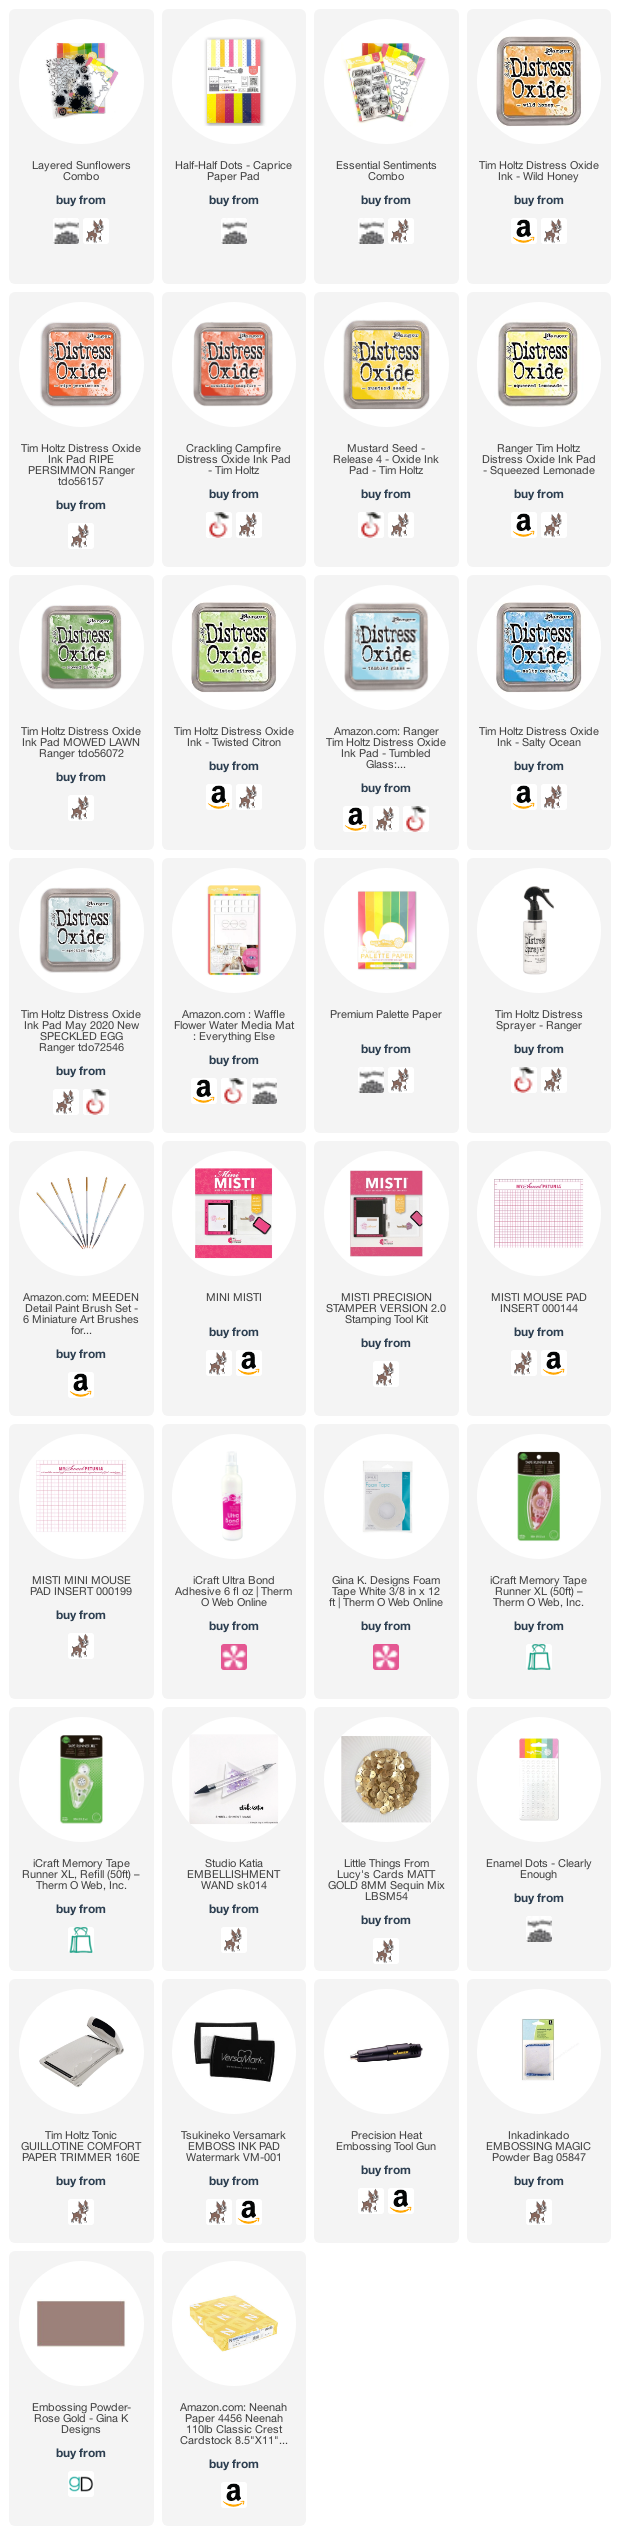
If you want to see the products I used, they are linked down below. Thanks for stopping by!


Oct 12, 2020

How to Fix Layered Stamping Mistakes

Hi everyone! In today's video, I am sharing a way to create layered stamped effects with Distress Oxide inks. Layered stamping with Distress Oxides is my favorite way to do layered stamping because if you don't get the stamps 100% lined up you can add a tiny bit of water to add some watercolored effects and cover your mistakes.
The Distress Oxides add such a pretty, chalky watercolor effect too!

Check out the video here:


Thanks so much for stopping by!

Jul 19, 2017

4 Ways to Watercolor Vicki Boutin Watercolor Stickers

This month for the Scrapbook Circle Tech Tip, I decided to focus on 4 ways to watercolor the Vicki Boutin watercolor stickers found in the Scrapbook Circle Add On Laugh More.
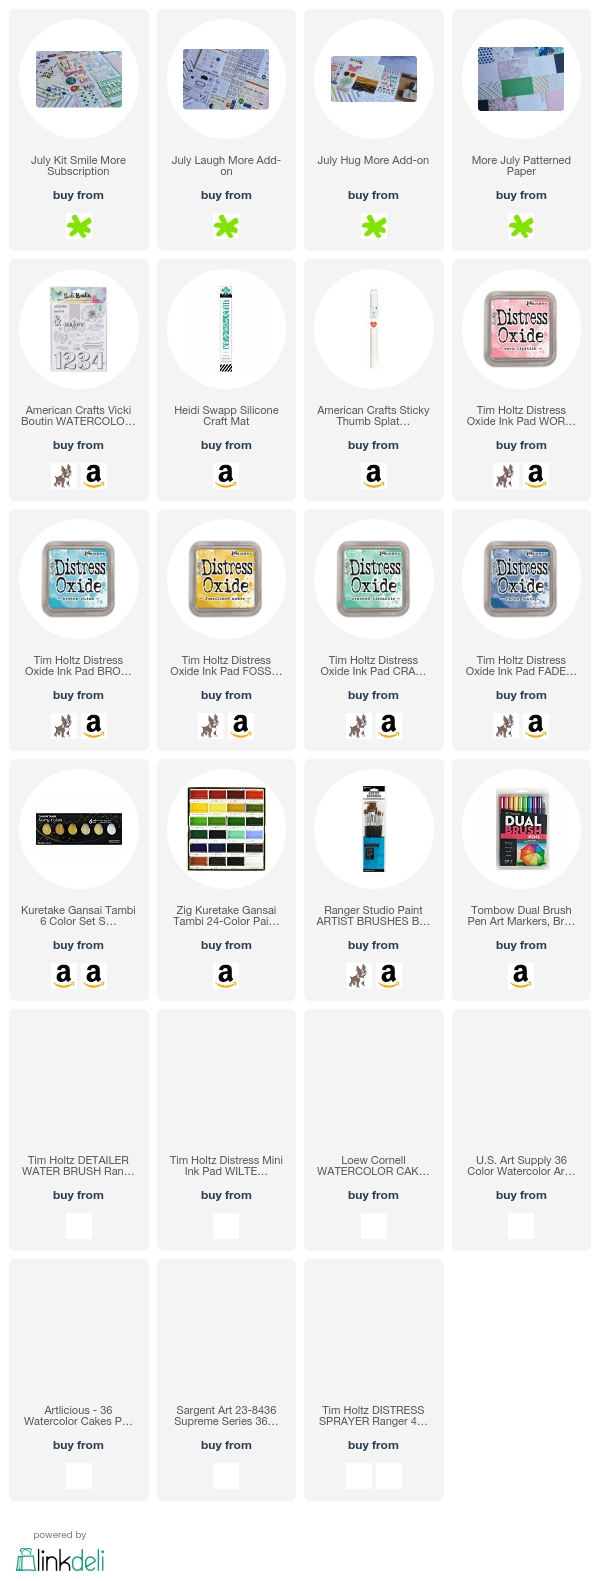
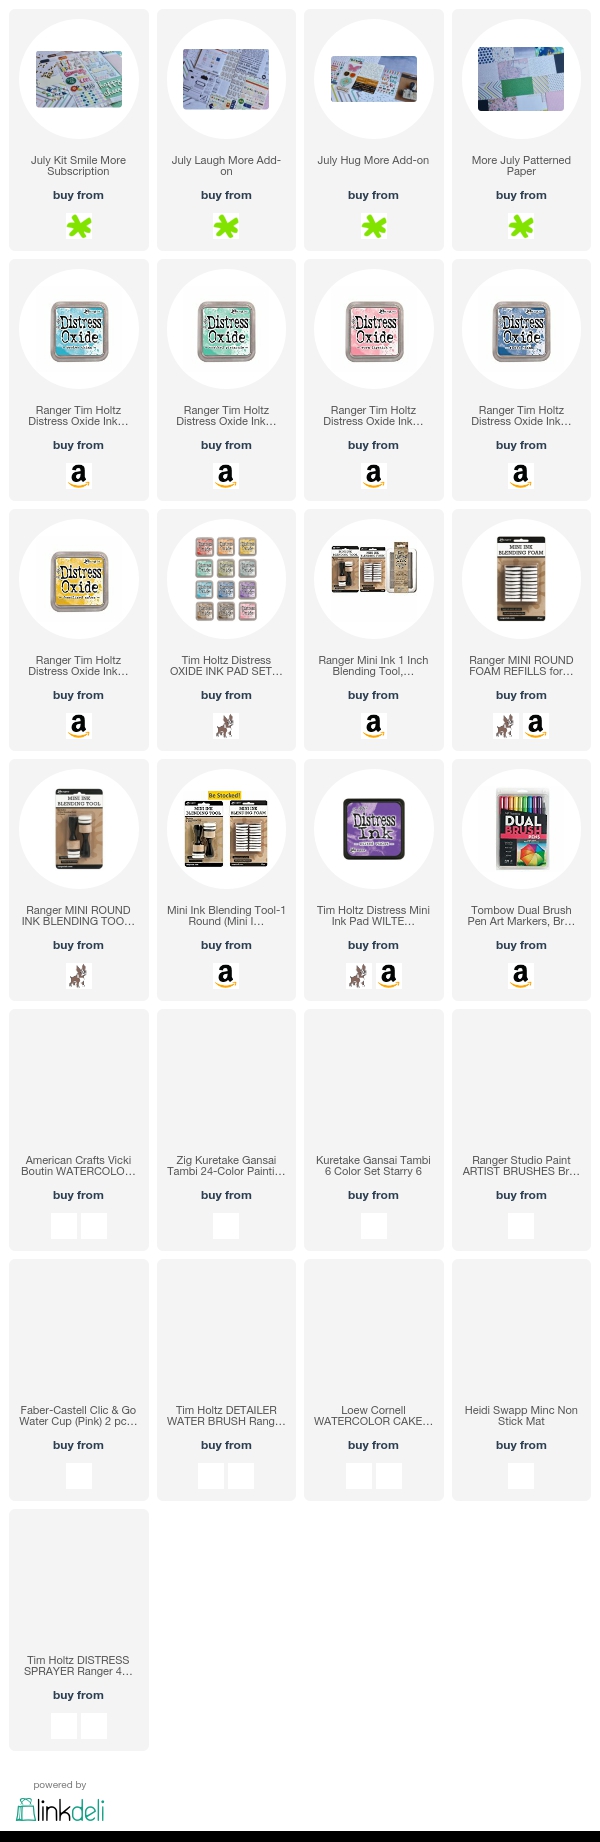
I used Distress Oxide Inks, Kurtake Gansai Tambi paints and Starry Colors, Tombow Dual Tipped markers and a mix of Distress Inks, makers and watercolor cakes.

 You can see the different watercolor effects I was able to achieve on the stickers depending on which medium I used and how I applied them.
Check out this short video to see all 4 ways I watercolored these awesome stickers.


Want to see the kits and all the individual supplies I used? The links are all below:


Jun 21, 2017

Splashy Watercoloring of Outline Alpha Stamps

I am up on the Scrapbook Circle blog today sharing my Tech Tip for this month.  This month I decided to use the Scrapbook Circle Add On Happy Place which included the Crate Paper Oasis Clear Acrylic Stamps. Those alpha outline stamps are perfect for coloring.
But I didn's want to spend tons of time coloring them in and worrying about staying in the lines. Instead I decided to do a watercolor technique that looks like splashes or splotches of watercolor. I used Tombow Dual Brush markers for the June's across the top.

 And I used Tim Holtz Distress Inks for the Funs across the bottom.
I filmed a video showing both watercolor techniques and the process of putting the rest of the layout together. You can check it out here:


Sadly,  the fancy program (LinkDeli) I was using to provide you with a ton of pretty images of products and links to shops is now charging an arm and a leg, and I won't be able to afford it. But if you would like to check out the products I use, I will have them all linked under the YouTube video and try to link them to at least two different shops.

Thanks so much for stopping by!


Mar 8, 2017

Jillibean Soup Souper Celebration

I was up on the Jillibean Soup blog the other day using the brand new Souper Celebration collection!
I love how Paige Taylor Evans combines watercolor and stitching and had to give it a try with this big 10.
I put together quick process video to show how this layout came together:

Thanks for stopping by!

Supplies:


Apr 18, 2016

How to Use Tim Holtz Distress Crayons with Scrapbook Circle's April Kit

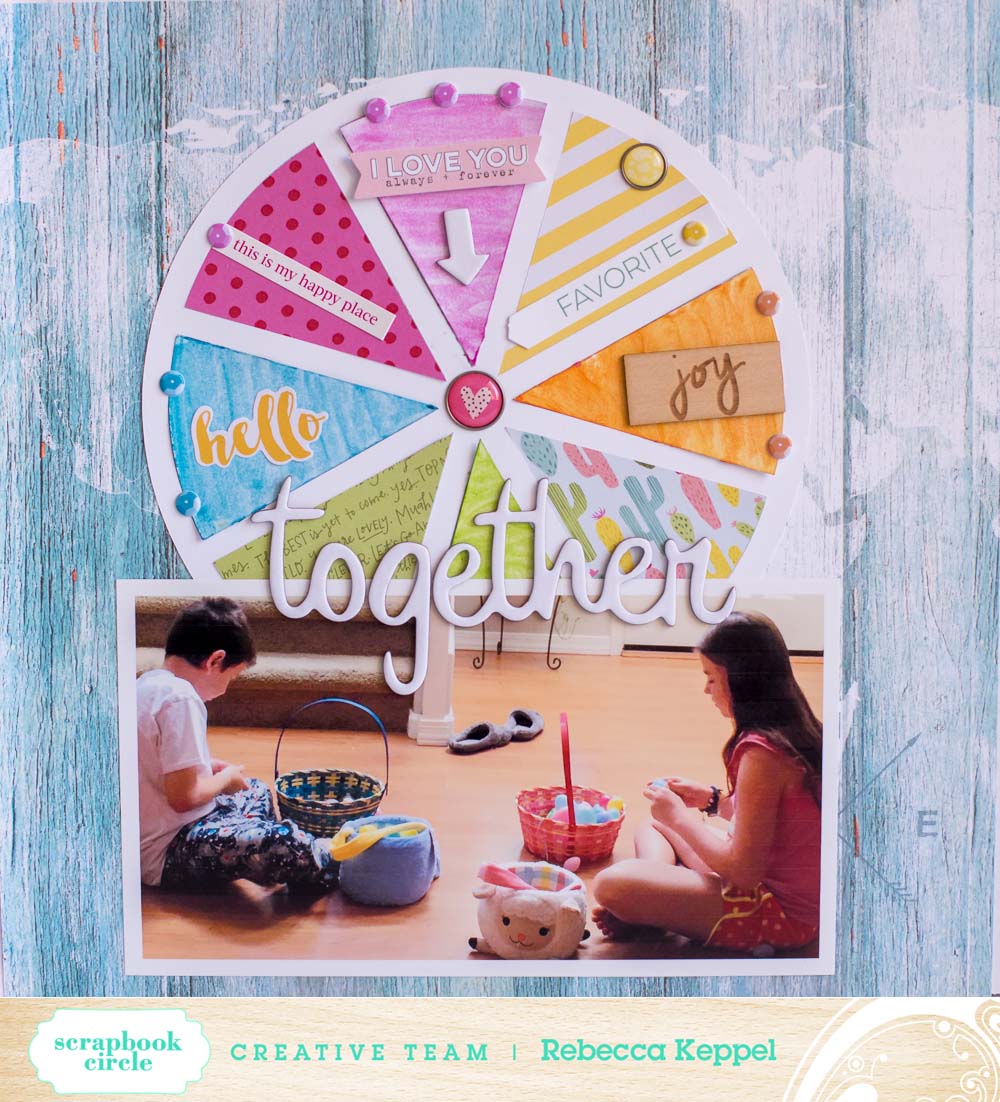
I have  new video up on the Scrapbook Circle blog using Tim Holtz Distress Crayons and the April Scrapbook Circle kit. I used the Scrapbook Circle exclusive digital die cuts to cut white cardstock into the pie chart shape. Then I scribbled the Distress Crayons on several of the pie chart pieces.  I then used a brush and water to move the color around.

You can see the whole quick technique in this short video!


Aug 5, 2015

Simple Stories - Brand NEW We Are Family

I am incredibly happy to be sharing my first We Are Family layouts with you. This is an incredible collection combining a dark woodgrain with a bright rainbow of colors-- literally something for everyone! This versatile collection made it very easy for me to create family layouts. Here is the first:
The wood veneer in this collection is seriously the most awesome thing ever. And I love the die cuts in the shape and design of embroidery hoops.
I wanted to do a large water color title. So I brought out my watercolors and found matches to the colors in the collection.
Then I cut the word family (a Simple Stories cut file available on the Silhouette site) out of watercolor paper. I painted each letter a different color and then went over the whole thing with a water brush to blend the letters together.
For my second layout I focused on just two members of my family.
There are a ton of stitching elements in this collection so I machine stitched a border on my layout. I layered chipboard frames over all of my photos and I like that they seem to be hanging on a wall or in a photo gallery in this layout.
And seriously how awesome are the little wood veneer people?
So whether you are scrapbooking babies to grandparents and everyone in between, you will find this to be an incredibly versatile collection with so many elements to add the perfect little details to your projects!

Supplies Used:
We Are...Family Collection: 
Collection kit 4700
Simple Basics Kit 4701
Expressions Stickers 4703
Bits and Pieces 4729
Washi Paper Tape 4735
Chipboard Frames 4738
Wood Veneer 4741

Jul 5, 2015

Scrapbook Circle - Watercolor Your Crate Paper Floral Paper

Are you loving the July Scrapbook Circle kit You are My Favorite? The patterned papers are so cool! I especially loved the floral outline sheet from the Craft Market collection. I bought the paper Add On so I could have two sheets :) I kept one blank and the other I watercolored. I saw this technique on Jennifer McGuire's blog. All you need are Tim Holtz Distress inks, a craft mat and a water brush.

IMG_6963
Take a Distress ink and rub a bit of it on the craft mat.

IMG_6964
Then take your water brush or a regular brush dipped and water and add it to the ink until it turns watery.

IMG_6965
Then use that watery ink to watercolor your paper.

IMG_6966
The more water you add, the more watery your end result will be.

rk sc july-20

I went back over some flowers that were very light.

rk sc july-22

Instead of journaling I used the Shimelle cardstock stickers.

rk sc july-21

How did you use the Crate Paper floral paper?

Jun 28, 2015

Scrapbook Circle -- Watercolor Your Stickers

Watercolor is still such a hot trend and fun to add to any plain stickers.


rk sc june5
All you need are some plain cardstock stickers and a few Clean Color brush markers  from Kuretake and a water brush or a regular paint brush with a cup of water.

IMG_6765
First, I added some color to the Jillibean Soup cardstock stickers from June's Kit. Next I took a waterbrush and pulled the bit of color I had added to the remainder of the sticker.
IMG_6766
This is a quick and easy way to add the watercolor look to any plain stickers! You can see I colored the star and label with 4 flights here:
RK Sc June-10
and the "THIS" arrow here. I like the whimsical look and pop of color it adds.RK Sc June-11
:) Rebecca