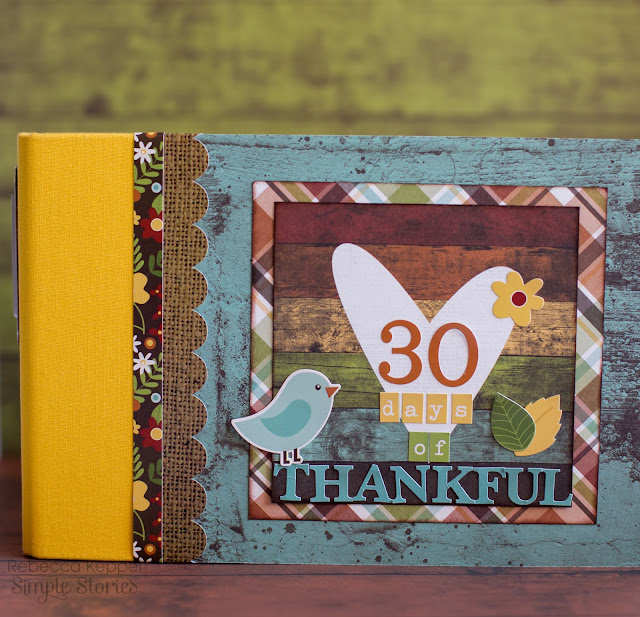
Hey Simple Stories fans! Rebecca here! You may remember THIS POST where I showed how I was setting up my 30 Days of Thankful Album.
Well, I am back with a nearly completed album! Every year this is one of my absolute favorite albums to work on. I love thinking about the things in my life I am grateful for and I really enjoy taking a photo a day. This year the album came together very quickly because I used a Simple Stories 4x6 album. If you are overwhelmed by the idea of a month long album project, this is the album for you. It comes with a variety of page protectors and inserts. Combine it with your favorite Simple Stories collection and you very quickly have an album you will cherish.
I mentioned in my first post that I used Simple Stories Pumpkin Spice collection and that it all came together so easily. Since I had so much pre-done I had extra time to add some special touches and I came up with 10 tips or tricks to share about this album.
#1: Mix it up! Use a variety of page protector sizes so you can see parts of pages peeking out. Round corners or punch bordered edges.
#2: It makes it easy to compile your photos if you are taking one a day with your phone. You can simply start with the first photo taken on November 1st. Bonus Tip: I decided NOT to label each day in my album so as not to stress myself out in case I missed a day!
#3: Add hand stitching. There is something about hand stitching that adds such a homespun feel to your album. It adds dimension and texture too. I simply drew a heart, pierced holes around the shape, erased the pencils lines and stitched it up.
#4: Find photos you love for the things/people you are grateful for. On November 2nd I posted about being thankful for my "girl on fire." I used my favorite photo from Halloween. Although the photo wasn't technically taken during November I figured it was close enough!
#5: Journal as much as you can! I documented most of my days in Instagram and had little snippets there that I could copy for my journaling. Bonus Tip: Mix handwritten and typewritten journaling. This way you don't have to stress about your handwriting for the WHOLE album, but you are remembering and passing down some of it!
#6: Combine stickers, die cuts, chipboard and more. Simple Stories makes this easy by offering so many adorable coordinating embellishments. The combination of them all creates visual interest and helps tell your story.
#7 Add stamping. Stamping is a great way to connect journaling cards and photos without adding bulk to your album.
#8: Journal right on your photo! This sunset photo had a ton of open space that was silhouetted and made it a perfect place to journal with a white gel pen!
#9 Not all pockets have to be filled with photos or journaling. On the right hand side I stuck enamel dots right to the page protector inside a small chipboard frame. On the bottom right square I placed a sticker on stop of the page protector. I mimicked both designs on the back so no white showed through.
#10: Don't forget the binding, back cover and book plate! I am not about to lie and tell you I've covered ever back cover of every mini album I've ever made, but I will say that when I do it makes for a much more completed look! I always love using some mini stickers to add the date to the book plate. The scalloped round sticker just seemed to fit perfectly on the binding. Bonus Tip: The Simple Stories border stickers wrap perfectly around this album. If you run out, just use a thin strip of patterned paper like I did on the back cover!
If you are documenting your 30 Days of Thankful, I hope you find these tips helpful!
Supplies Used:
4600 Collection Kit
4601 Basics Kit
4602 Fundamentals Cardstock Stickers
4603 Expressions Cardstock Stickers
4610 3x4 Journaling Card Elements
4611 Horizontal Journaling Card Elements
4613 4x4 Elements
4614 2x2 Elements
4628 Chipboard Stickers
4631 Enamel Dots
4638 Chipboard Frames


this is FANTASTIC--LOVE it!!
ReplyDelete