Aug 20, 2014

Scrapbook Circle's Tiki Torch Add On

**If you are looking for my My Mind's Eye giveaway please go HERE.**

-------------------------------------------------------------------------------------------------------------------
I find myself buying Scrapbook Circle Add Ons every month! Not that you HAVE to have the add on. There is plenty of goodness in the main kit to do plenty of layouts, but the Add Ons are ALWAYS so tempting! And who doesnt want extra goodies?! This month I bought Tiki Torch. My favorite item in the Tiki Torch add on was the Crate Paper Open Road Chipboard Frames. I decided to base an entire layout around them

rk sc date night

I love how their lighter, neutral colors really compliment the rich brights from the paper in Island Paradise, the main kit. Of course you can use the Polaroid and slide frames to house pictures. But they are also really fun for layering with embellishments. I used them as a design element so I even cut one in half to have it running off the page.

rk date night 2 cu-1 
The American Crafts flair fit perfectly inside the small slide frames.

rk date night 2 cu-3

They are great with stickers and the Chic Tags wood veneer sequins too.

rk date night 2 cu-2

Last, but not least, one larger frame I backed with patterned paper and used the exclusive Scrapbook Circle stamp on it.

rk date night 2 cu-4
Can you tell I had fun with these frames? Scrapbook Circle add ons always have fun surprises so be sure to check them out!

Aug 19, 2014

Guest Designing for....MY MIND'S EYE and GIVEAWAY!!!

I've been sitting on this BIG, GIGANTIC, crazy awesome news for a little while. I had the opportunity to guest design for My Mind's Eye! I have loved My Mind's Eye for a LONG time. Do you remember Wild Asparagus? Many years ago when I ventured away from Big Box craft stores and found a LSS I also found and adored My Mind's Eye. :) So getting to guest design for them was over the top exciting! :) I was given Teal Necessities and Market Street Nob Hill collections and I had a blast! Let's start with Market Street. I am a huge fan of Jen Allyson's designs and Market Street is well just STUNNING. You can use it for cards...
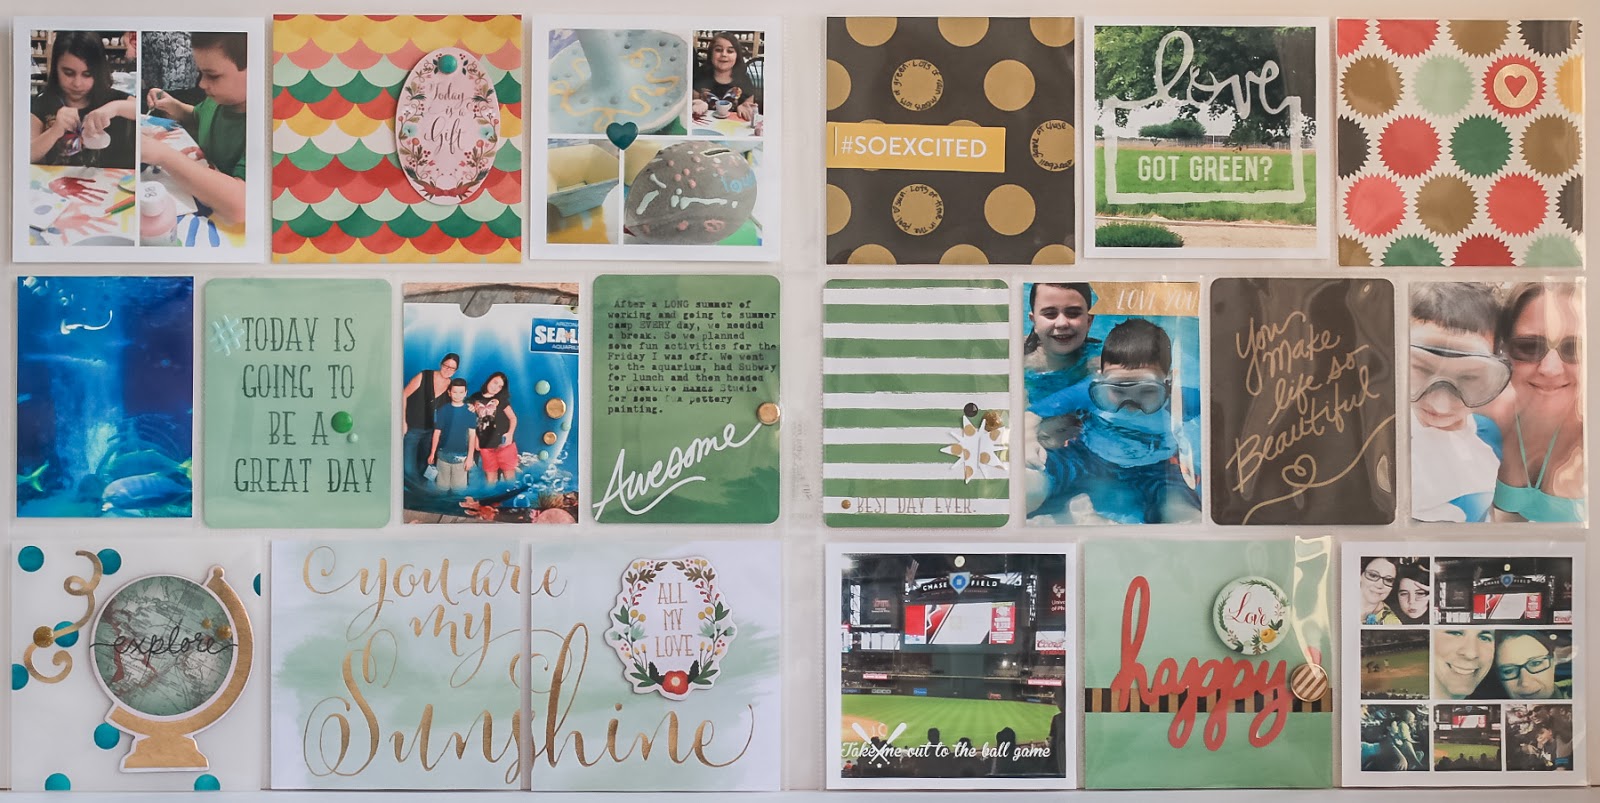
For pocket page spreads...
And of course for layouts...
Yikes, can't believe he was ever so tiny! I also used Market Street and combined it with the Silhouette Cameo's newest technology PixScan to create this layout.
With PixScan I was able to take a photo of the starburst patterned paper and open it in Silhouette's Design Studio Software. Then I traced several of the starbursts. I added circular cuts on other starbursts. Then I cut them out and backed them with mini black and white photos.
I am SO NOT patient with fussy cutting, so the PixScan technology is pretty much made for me!
I also loved working with the Teal Necessities and made this card...
And this layout.
Can you tell how much fun I had? If you want more info about any of the projects check out my posts on My Mind's Eye Blog HERE and HERE.
And now it is time to spread the love! Comment here for a chance to win some My Mind's Eye goodies from me! Follow this blog and leave me another comment telling me that you did or already do for an additional chance to win! I will keep it open all week - Good LUCK! 

Aug 18, 2014

Simple Stories - Frankie and Friends

Hi Simple Stories fans Rebecca here! I LOVE Halloween. My kids LOVE Halloween. They are both still on the young side, so cutesy is the mainstay for their costumes. And that's ok with me! I featured two pictures of them in their costumes and went with a SIMPLE color block design.
When I am creating a color block layout, I pretend like I am dealing with a jigsaw puzzle and start with one piece that I know from the beginning where it is going to be. For this layout it was this un-matted photo.
I am not really big into measuring and rulers so I just do quick checks on the basics. The photo was 5" tall so I cut a piece of patterned paper to that height. Then I eye ball how much room I want inbetween the two pieces and how wide I want it to be (remembering to have a border around the whole page).
That block ended up housing a smaller matted photo. From there it is pretty easy to have two long blocks one for the top and one for the bottom.
Once you have the basic structure of your blocks, then it gets fun! I stitched around each block in black thread to pull them all together visually. Another way my blocks are consistent is that they are all polka dot patterns. I cut out a tag and journaled on it with my typewriter.
 Finally I used some Simple Stories Bits and Pieces, Brads, Cardstock Stickers and Chipboard stickers.

So if you are a Halloween fanatic like my family, you will definitely want to get every bit of Simple Stories Frankie and Friends and start having fun!

Supplies Used:
Simple Stories Frankie and Friends Collection
Collection Kit 5500
Bits and Pieces 5529
Chipboard 5528
Brads 5527
The Great Pumpkin 5505
Spooktacular 5506
Happy Haunting 5507
Monster Mash 5508
Page Elements 5515