
Since I saved so much time using scrapkit studio's pre cut pages and paper to cover those pages, I added my own touches. For example, I love machine sewing, so I machine stitched on every pre cut page before I even adhered them to the chipboard:

And once I adhered everything and wanted more stitching, I used a white gel pen to outline the border sticker here:

The kit included entire sheets of Simple Stories stickers, bingo cards and journaling squares to choose what fit on my pages.

As well as 2 pockets which were punched with holes to match the rest of the album.

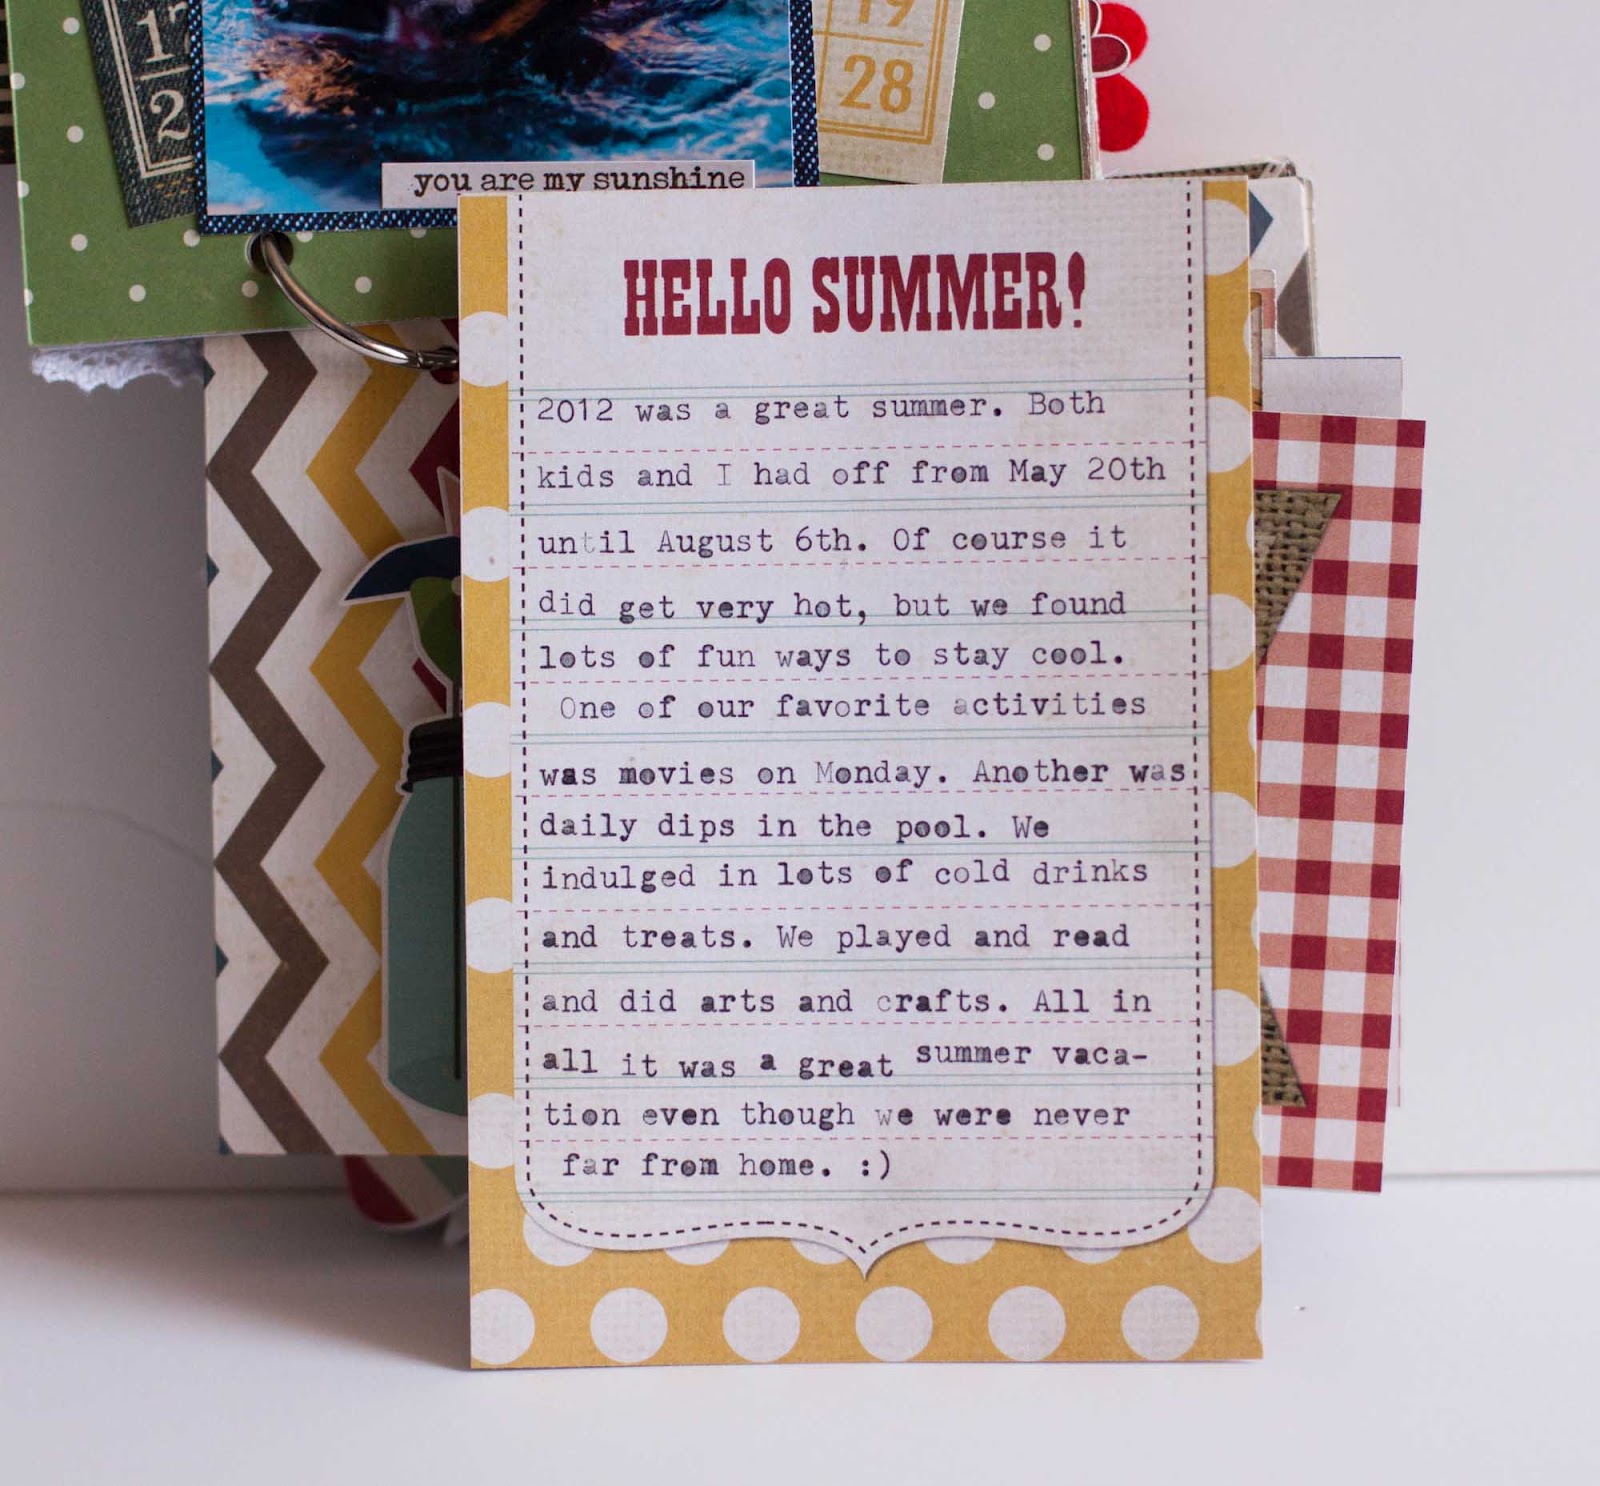
Rather than adhere those pockets to pages, which would look great too, I chose to keep them as separate pages. I even liked the sideways orientation! I stuck some tickets and memorabilia from our summer in one and was able to cut up the Simple Stories journaling page to add lots of typewritten journaling in the other.
Just like in the example and instructions, I used lots of 3D adhesive for my stickers. Of course my favorite is Therm O WEb 3D Adhesive Zots.

I ended my summer book with the first day of school :)

And even decorated the back cover...

All in several hours! I am telling you-- having the pre-cut pages makes all the difference in the world--it is a HUGE time saver! So go check out scrapkit studio if you're looking for a summer book kit this is an awesome one! And while your there check out all the fabulous kits for sale!
:) Rebecca


It looks like you had a fun summer! I love how you documented the little things that are importany like getting yogurt and swimming. Your kids will love looking back at this album!
ReplyDeletethats just the cutest mini I have seen in a long time, love the fresh colours and the spotlight on the photos....FAB FAB!
ReplyDeleteSo cute!
ReplyDeleteYour album turned out so cute, Rebecca! I love what you've done to change up the kit! I especially love the way you did your journaling on the tickets! Thanks so much for the kind compliments and for working with one of my kits! :-)
ReplyDeletemelinda at scrapkit studio
this is GREAT! Love how it chronicles your adventurous summer--WAY cute mini album!
ReplyDeleteOhh goodness, this puts me in the mood to create a mini!
ReplyDeleteThis is really nice, girl! Love it!
oh very cute, love the mini album! I've been thinking about using this line and now I am hooked!
ReplyDelete